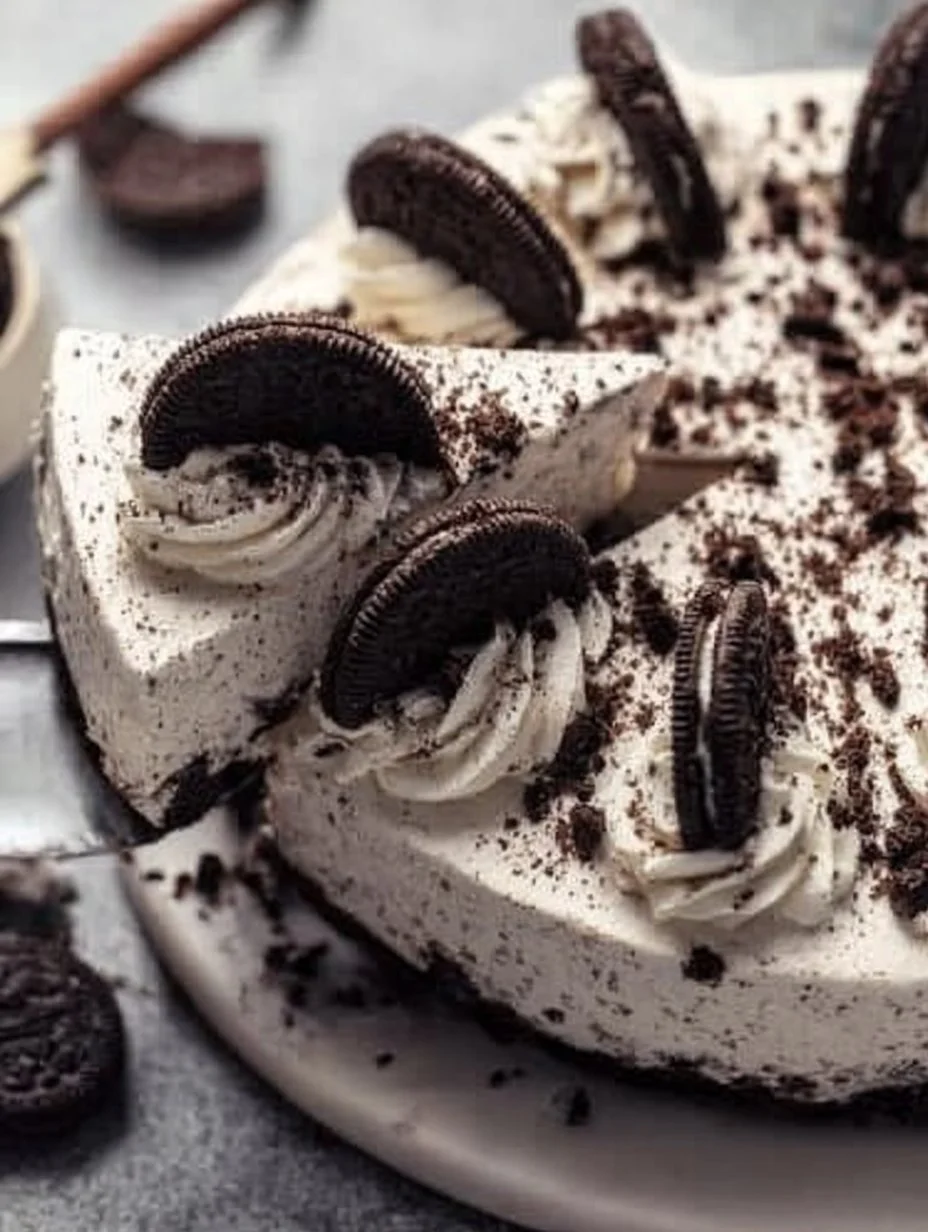
This no-bake Oreo cheesecake is creamy, rich, and full of cookie crunch. You do not need an oven, and the steps are simple. A crisp Oreo crust supports a smooth cheesecake filling with crushed cookies inside. It is great for hot days, busy weeks, parties, and holidays. You can make it ahead, chill it, and serve when you are ready. It looks special but uses basic, easy-to-find ingredients.
Why Make No-Bake Oreo Cheesecake
This no-bake Oreo cheesecake gives you a cool, creamy dessert without turning on the oven. It saves time, and it keeps your kitchen from heating up in warm weather. The crust is buttery and crunchy, while the filling is smooth and light. Oreo pieces inside add fun texture and extra chocolate flavor in every bite.
This dessert is perfect for summer cookouts, birthdays, and holidays. You can make it a day ahead, which makes hosting easier. It also travels well when chilled. The ingredients are simple and affordable, so this recipe gives you great value. You can swap items to fit many diets with only small changes. It looks impressive on the table, slices cleanly when well chilled, and never fails to please a crowd.
Why You’ll Love This No-Bake Oreo Cheesecake
Cozy Flavor with Everyday Ingredients
You only need Oreo cookies, butter, cream cheese, sugar, vanilla, and cream. These are easy to find and budget-friendly. The taste is classic: chocolate cookie crunch with creamy vanilla cheesecake. It feels special but stays simple.
Quick to Make, Easy to Love
- No oven and no water bath needed
- Simple steps and short hands-on time
- Make ahead and chill until serving
- Easy to customize with flavors and toppings
Ingredients and Substitutions
What You’ll Need for This Recipe
- Oreo cookies: 24–28 for the crust, plus 6–10 extra for the filling and topping
- Unsalted butter: 5 tablespoons, melted (for the crust)
- Cream cheese: 16 ounces (2 blocks), full-fat, room temperature
- Powdered sugar: 2/3 cup
- Vanilla extract: 1 teaspoon
- Lemon juice (optional): 1 tablespoon, for a light tang
- Salt: a small pinch
- Heavy whipping cream: 1 cup, very cold, whipped to stiff peaks
- Or use 8 ounces whipped topping
- Optional stabilizer: 1 teaspoon powdered gelatin + 1 tablespoon cold water + 1 tablespoon hot water (helps in warm rooms)
- Tools: 9-inch springform pan, parchment paper, mixing bowls, electric mixer, spatula
Smart Swaps for Dietary Needs
- Gluten-free: use gluten-free chocolate sandwich cookies
- Dairy-free/vegan: dairy-free cream cheese, vegan butter, and coconut cream or dairy-free whipped topping
- Lower sugar: reduce powdered sugar to 1/2 cup and use reduced-sugar cookies if available
- Lighter: use light cream cheese and whipped topping (texture will be a bit softer)
- Gelatin-free: skip gelatin and chill longer (at least 8 hours)
Smart Variation (Optional)
- Mint Oreo: use mint Oreos and add 1/4 teaspoon peppermint extract
- Peanut butter swirl: warm 1/3 cup peanut butter and swirl into the top before chilling
- Berry topping: add fresh berries and a drizzle of chocolate sauce before serving
- Mocha: add 1 teaspoon instant espresso powder to the filling
How to Make No-Bake Oreo Cheesecake
Step-by-Step Cooking Instructions
Step 1: Line the bottom of a 9-inch springform pan with parchment. Lightly grease the sides. Gather all ingredients.
Step 2: Crush 24–28 Oreos into fine crumbs. Mix with 5 tablespoons melted butter. Press the crumbs firmly into the pan to form an even crust. Chill the crust for 15 minutes.
Step 3: Whip the cold heavy cream to stiff peaks. Keep it cold. If using gelatin, bloom 1 teaspoon gelatin in 1 tablespoon cold water, then dissolve with 1 tablespoon hot water and let cool to lukewarm.
Step 4: In a bowl, beat cream cheese, powdered sugar, vanilla, lemon juice (optional), and a pinch of salt until smooth and creamy.
Step 5: Gently fold the whipped cream into the cream cheese mixture until just combined. Fold in 6–8 chopped Oreos. If using gelatin, stream it in while mixing on low speed.
Step 6: Spread the filling over the chilled crust and smooth the top. Chill in the refrigerator at 35–40°F (2–4°C) for at least 6 hours or overnight. For a quicker set, freeze for 45–60 minutes at 0°F (–18°C), then move to the fridge for 2–3 hours.
Step 7: Release the springform ring. Top with extra Oreo pieces and whipped cream if you like. Slice with a warm knife (wipe between cuts) and serve chilled.
Tips for Texture, Timing & Tools
- Pack the crust firmly so it stays crisp and doesn’t crumble
- Use room-temperature cream cheese for a smooth filling
- Keep the cream and bowl cold for easy stiff peaks
- Do not overmix after adding whipped cream; fold gently
- Chill at least 6–8 hours for clean slices
- An acetate cake collar gives very clean edges
- Warm a sharp knife under hot water, dry, then slice
Storage & Reheating
How to Store It Right
- Cover the cheesecake and keep it in the fridge for up to 4–5 days
- For freezing, wrap slices well and freeze up to 2 months; thaw in the fridge
Reheating Without Losing Flavor
This dessert is best cold, not hot. Do not microwave. From the fridge, let it sit 10–15 minutes before serving for a softer bite. From the freezer, thaw overnight in the fridge or 30–45 minutes on the counter until just sliceable.
A Dish Worth Making Again and Again
It is simple, crowd-pleasing, and make-ahead friendly. You can change flavors easily and serve it for any season. Keep this recipe in your rotation.
PrintNo-Bake Oreo Cheesecake
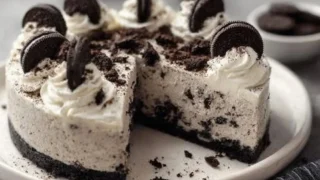
A creamy, rich, and no-bake Oreo cheesecake filled with crushed cookies and a crisp Oreo crust, perfect for hot days and special occasions.
- Prep Time: 25 minutes
- Cook Time: 0 minutes
- Total Time: 360 minutes
- Yield: 8 servings 1x
- Category: Dessert
- Method: No-Bake
- Cuisine: American
- Diet: Vegetarian
Ingredients
- 24–28 Oreo cookies, crushed
- 5 tablespoons unsalted butter, melted
- 16 ounces cream cheese, full-fat, room temperature
- 2/3 cup powdered sugar
- 1 teaspoon vanilla extract
- 1 tablespoon lemon juice (optional)
- Pinch of salt
- 1 cup heavy whipping cream, very cold, whipped to stiff peaks
- 6–10 Oreo cookies, chopped (for filling and topping)
Instructions
- Line the bottom of a 9-inch springform pan with parchment, lightly grease the sides, and gather all ingredients.
- Crush 24–28 Oreos into fine crumbs, mix with melted butter, and press firmly into the pan to form an even crust. Chill for 15 minutes.
- Whip the cold heavy cream to stiff peaks.
- Beat cream cheese, powdered sugar, vanilla, lemon juice (if using), and salt in a bowl until smooth and creamy.
- Fold whipped cream into the cream cheese mixture until just combined. Gently fold in chopped Oreos.
- Spread the filling over the chilled crust and smooth the top. Chill for at least 6 hours or overnight.
- Release the springform ring, top with extra Oreo pieces and whipped cream if desired, slice, and serve chilled.
Notes
Add gelatin for better setting in warmer temperatures. Use room-temperature cream cheese for easier mixing.
Nutrition
- Serving Size: 1 slice
- Calories: 350
- Sugar: 25g
- Sodium: 300mg
- Fat: 23g
- Saturated Fat: 12g
- Unsaturated Fat: 8g
- Trans Fat: 0g
- Carbohydrates: 35g
- Fiber: 1g
- Protein: 5g
- Cholesterol: 60mg
(FAQs)
Why is my no-bake cheesecake not setting?
It may need more chill time. Chill at least 6–8 hours or overnight. Make sure you whipped the cream to stiff peaks and did not overmix. In warm rooms, add a little gelatin to help it set.
Can I make no-bake Oreo cheesecake without whipped cream?
Yes. You can use 8 ounces of whipped topping instead. If you skip both, the texture will be dense. For a firmer set without cream, add gelatin as directed.
How many Oreos do I need?
Use about 24–28 cookies for the crust plus 6–10 extra for the filling and garnish. The exact number can vary by brand size.
Can I use a regular pie dish instead of a springform pan?
Yes, but use a deep 9-inch pie dish and press the crust up the sides. Slices may be a bit harder to remove. Line with parchment if possible.
Final Thoughts
This no-bake Oreo cheesecake is creamy, simple, and always a hit. With easy steps and basic ingredients, you get a beautiful dessert without using the oven. Make it ahead, chill well, and enjoy every cool, crunchy bite.